Tutorial
Making an interlocking part with Tinkercad
What is it?
Interlocking parts are great for creating models with moving parts, interchanging parts or models that are larger than the build platform.You need to consider how much clearance parts need before they can rotate or move against one another smoothly. Too tight and they'll bind, catch, or seize up. Too loose and they'll wobble out of place or simply not connect to other critical parts reliably.
While PLA does not shrink, ABS does. When using ABS plastic think about adding 0.25mm clearance on all sides for parts that need to fit tightly and 0.4mm clearance on all sides for moving parts.
What's the tutorial?
- Open a webGL enabled browser like Google Chrome or Firefox
- Navigate to tinkercad.com
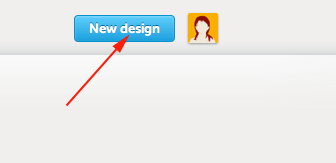
- Once you have signed in or created a new account, click the button to design a new thing:
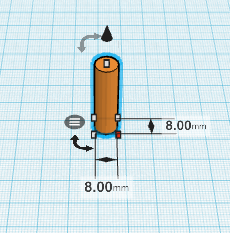
- Drag a cylinder on to the workplane. Make the width and length each 8mm by draging the front right node, in and over to the left. Adjust the height by pulling the node beneath the cone up:
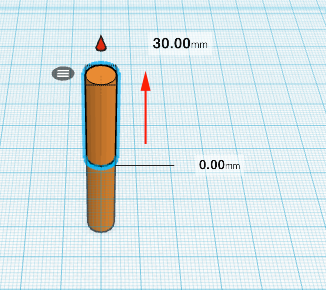
- Place the workplane on the top of the cylinder. While holding Option/Alt+click on the cylinder, then click on the cone and move the duplicated cylinder up until the measurement reaches 0mm
- Click on the node below the cone of the second cylinder and adjust the height of the cylinder to 10mm
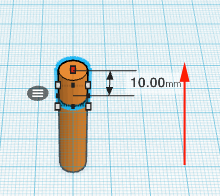
- Place the workplane on the top of the second cylinder. While holding Option/Alt+click on the top cylinder, then click on the cone and move the duplicated cylinder up until the measurement reaches 0mm
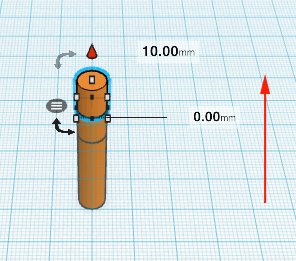
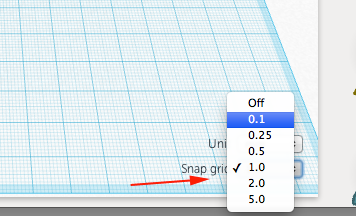
- Adjust the Snap Grid. This will give you more or less control on moving and resizing forms. You will adjust this property again when you model:
- Click on the node below the cone of the third cylinder and move it down until the height is 1.6mm. You may have to zoom in or out to fine tune your measurements
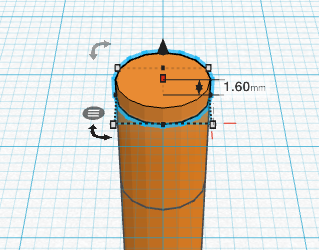
- Hold down OPTION/Alt and shift and pull the right node to modify the width and the height to be 8.40mm.
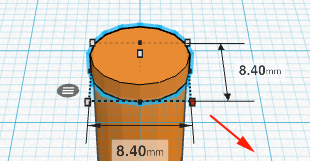
- Place the workplane on the top of the third cylinder. While holding Option/Alt+click on the top cylinder, click on the cone and move the duplicated cylinder up until the measurement reaches 0mm
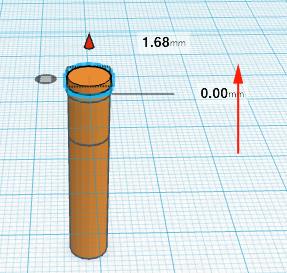
- Holding OPTION/ALT +Shift pull in the cylinder so that it measures 7.8mm
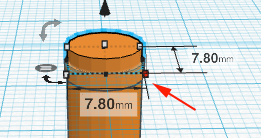
- Adjust the height of the fourth cylinder so that the height is 1mm
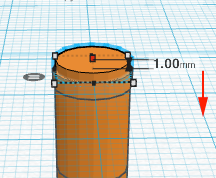
- Select the second, third and fourth cylinder and group them
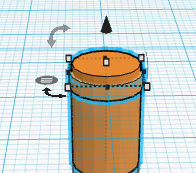
- Reset the workplane.
- Drag a cube over to the workplane and adjust the width to 2mm and length to 10mm
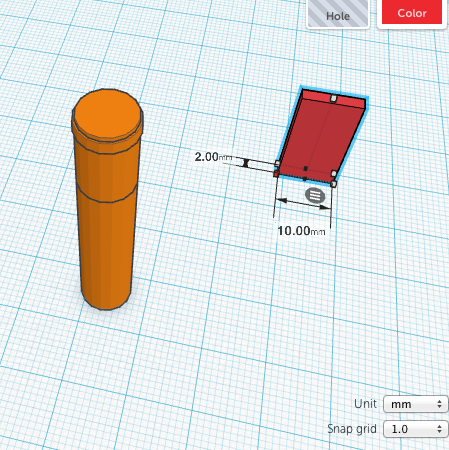
- Adjust the height to 10mm
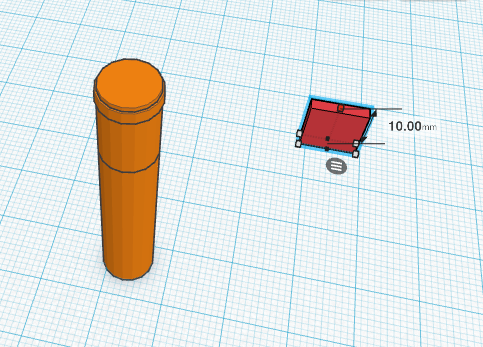
- Reset the Snap Grid to 1mm
- Drag a cylinder onto the workplane and adjust the width and length to 4mm x 4mm
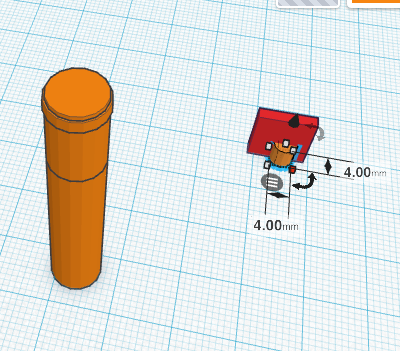
- Select the cylinder and the cube and click on the circle to activate the Tools

- Select Align
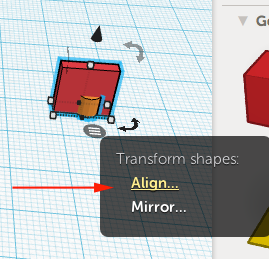
- Click to center
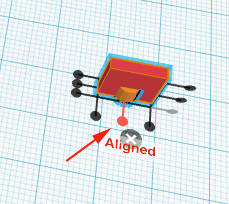
- Adjust the height of the cylinder to rise above the top of the cube
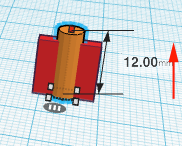
- Group the cylinder and cube together (Command/CTRL+G).
- Transform the grouped shape into a hole.
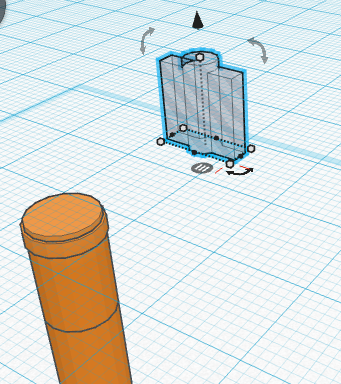
- Position the hole:
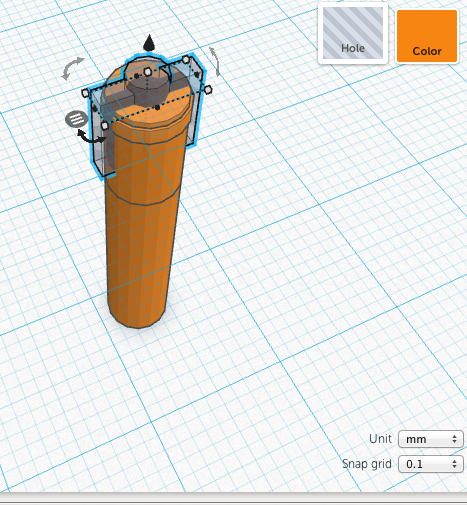
- Select the hole and the top grouped cylinders and select the Tools Palette. Select Align and align the the hole:
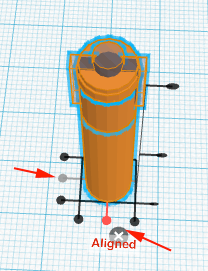
- Group the hole and the top grouped cylinders to create a hole
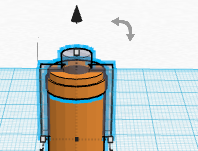
- Option/ALT+click on the grouped cylinder and then the cone and move the duplicated shape down top 0
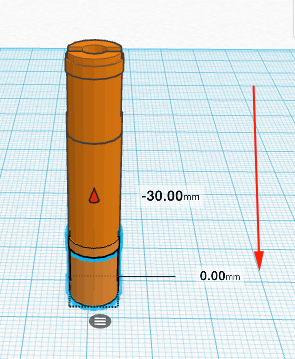
- Rotate the duplicated shape 180°
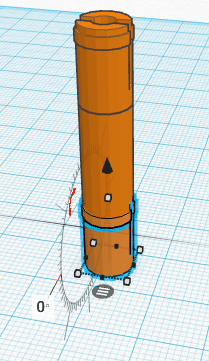
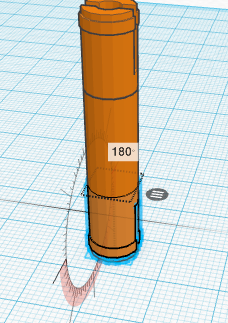
- Move duplicated shape down
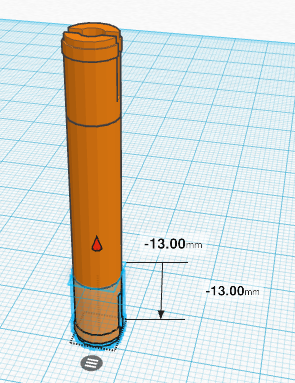
- Select all three pieces and move the shape up
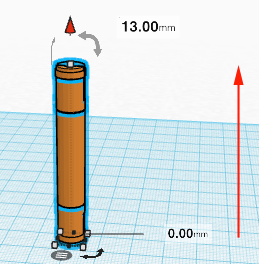
- Adjust the Snap Grid. This will give you more or less control on moving and resizing forms. You will adjust this property again when you model:

- Drag a cube, adjust the height, intersect the shape a bit
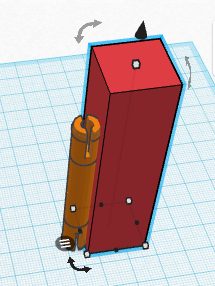
- Adjust the Snap Grid. This will give you more or less control on moving and resizing forms. You will adjust this property again when you model:

- Press OPTION/ALT+Shift and create a second cube
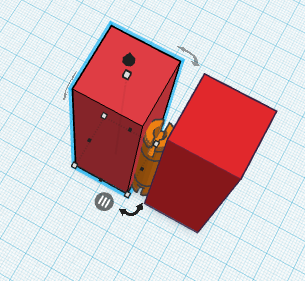
- Transform the cubes into holes.
- Use the Align tool to align the shapes
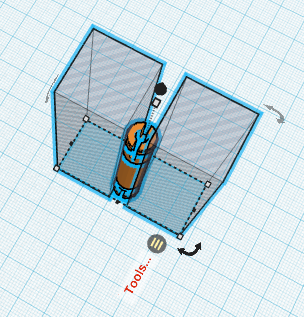
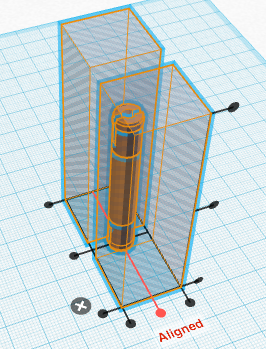
- Group the holes and the shape.
- Rotate the shape by 90°
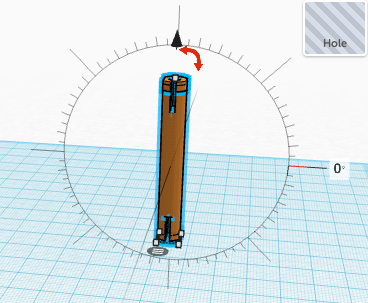
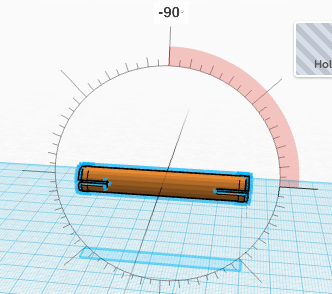
- Move the shape down.
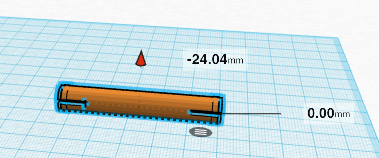
- Create another shape that has a hole in it. If using ABS plastic, make your hole .5 mm larger than the top and bottom of your pin.
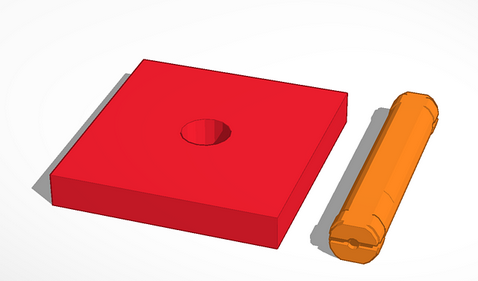
- Now make something interesting that uses your pin to connect more parts together. Need inspiration? Look at the Snap Together Lamp.
Now what?
- Upload your interlocking parts to Thingiverse
- Come back tomorrow for more information and inspiration!
