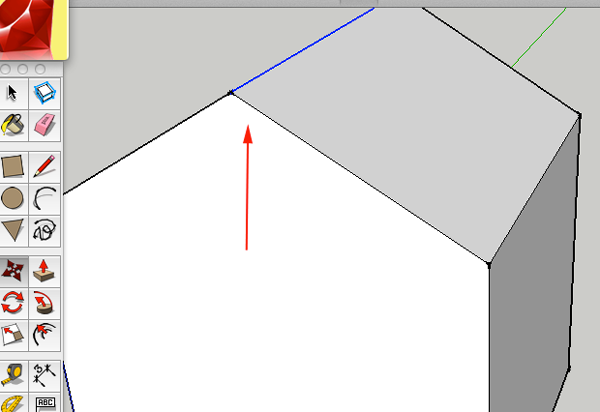
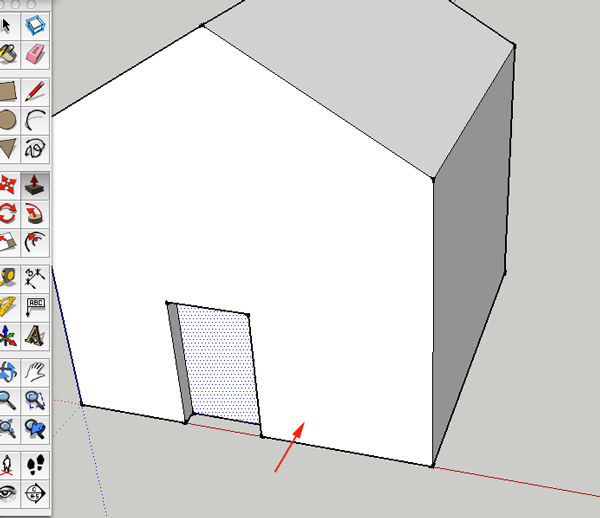
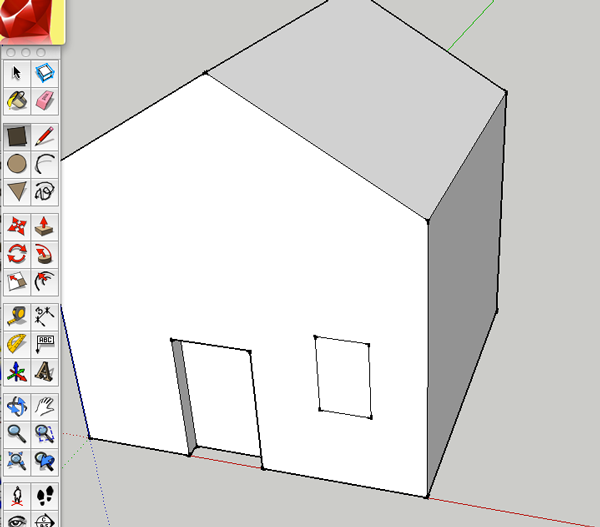
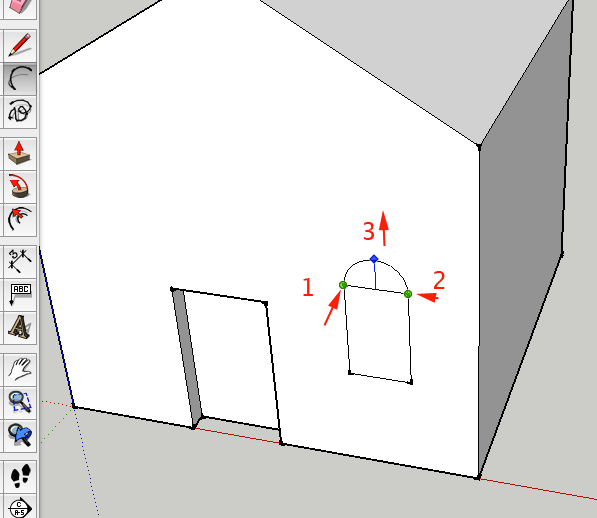
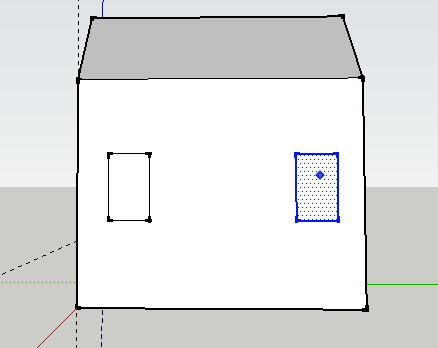
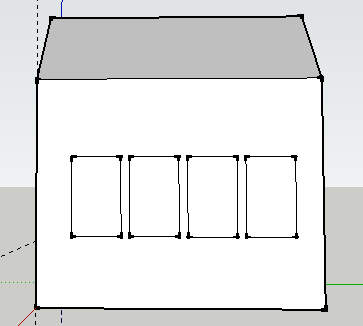
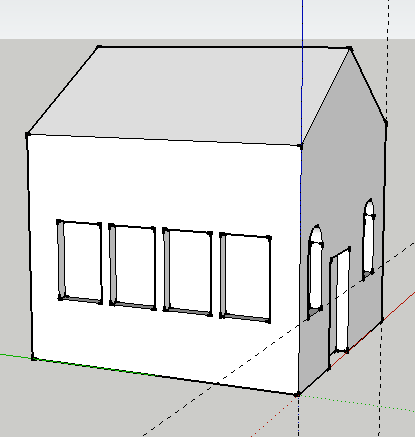
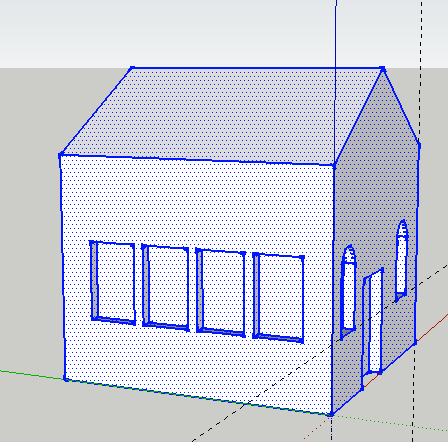
Your First House
Lesson by: Saint Ann's School
3rd Grade Computer
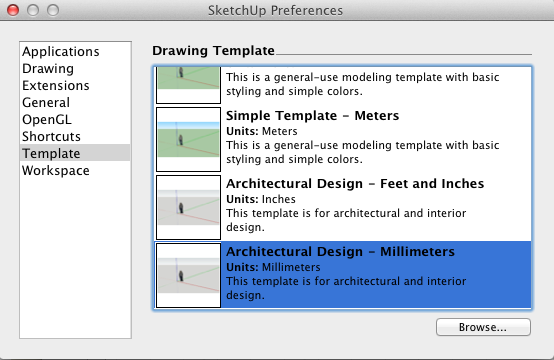
Setting up SketchUp
SketchUp is a tool designed to teach you 3D modeling, whether you are a novice or experienced user.

- If you don't have SketchUp on your computer, download and install it from Sketchup.com.
- The free version will not export your model as an stl file, but there are plugins to help you do this.
Convert SketchUp SKP files to DXF or STL
This plugin is freeware and it works for Windows and Mac.
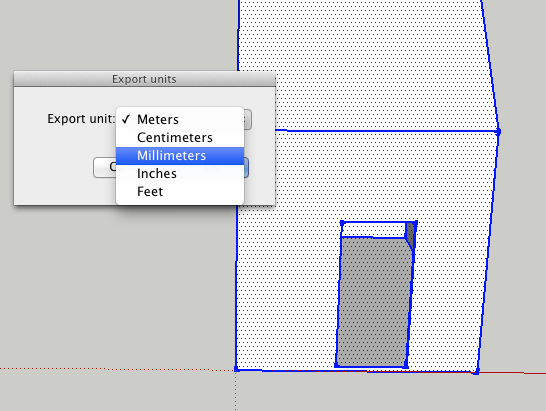
This plugin allows you to export your SketchUp model as a DXF or STL triangular mesh or as DXF lines, which should be readable by most CAM software.
To use the plugin, download the ruby file and place it in the SketchUp plugins folder on your computer:
On a Windows PC: If you have installed SketchUp on the C: drive then this folder will be at C:\program files\google\google sketchup [VERSION]\plugins.
On Mac OSX: The sketchup plugins folder is /Library/Application Support/Google SketchUp [VERSION]/SketchUp/Plugins
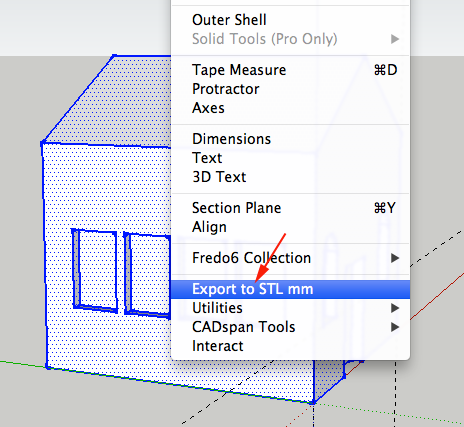
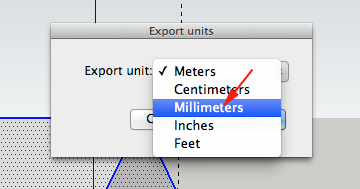
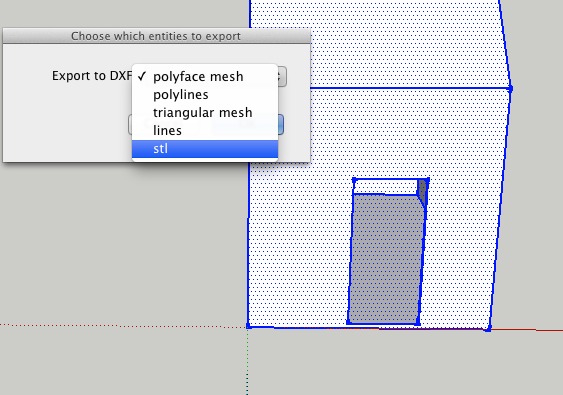
After copying this file, start SketchUp and you should now have an extra menu option (Export to DXF or STL) in the SketchUp Tools menu.
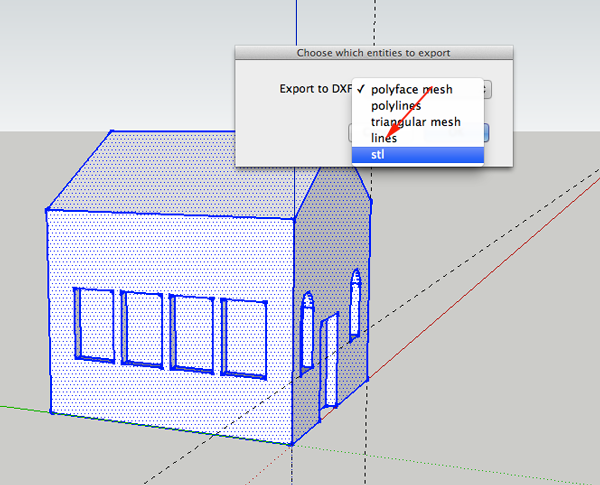
There are five export options, you want the last one:
- DXF polyface mesh. This will give the most faithful reproduction of your original SketchUp model.
- DXF polylines: exports the outlines of each face as a polyline, sometimes useful for CAM toolpaths.
-
DXF triangular mesh: breaks all the faces up into triangles
-
DXF lines. This option exports the edges in your model as lines.
-
STL triangles. The stereolithography triangular mesh format, useful for some CAM programs.
Be aware that these options do not always work for every model.
A fix for some problems is the flipped face.
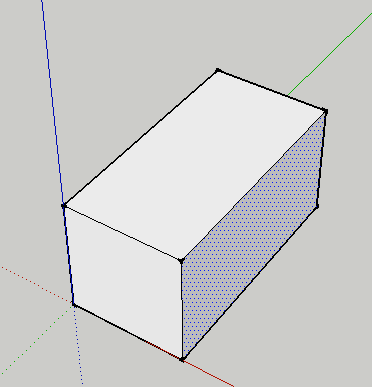
SketchUp doesn't care if a surface is on the outside or inside of your model, but this can create problems in your stl files when it comes time to printing.
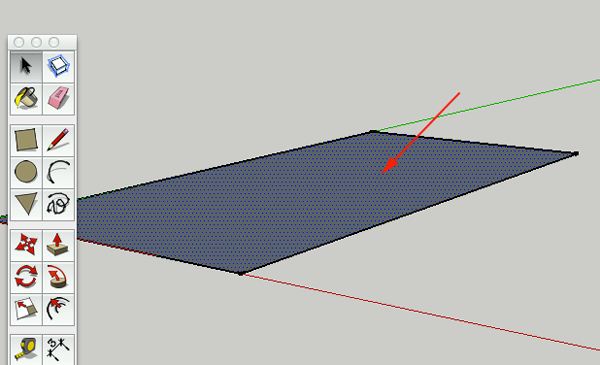
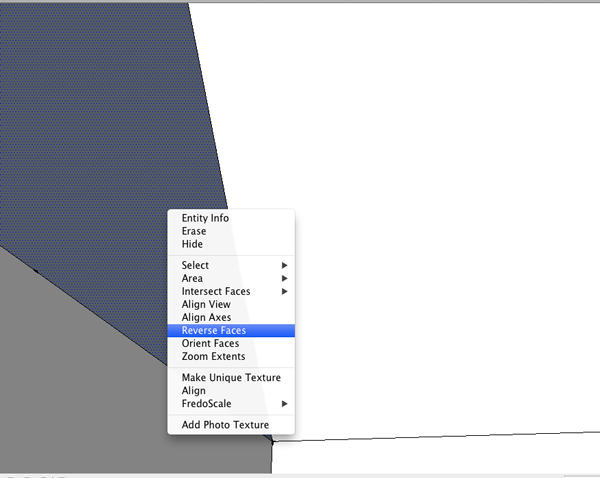
If you see a darker face, CTRL+click on it and select Reverse face from the menu.
Just to be sure that your model is printable, open the stl file in one of the programs that will fix the model, like Netfabb Studio Basic.
Camera Views
SketchUp provides several predefined standard points of views.
Windows
- Iso (Shift+1)
- Top (Shift+2)
- Bottom (Shift + 3)
- Front (Shift+4)
- Back (Shift+5)
- Right (Shift+6)
- Left (Shift+7)
MAC
- Top (Command+1)
- Bottom (Command+2)
- Front (Command+3)
- Back (Command+4)
- Left (Command+5)
- Right (Command+6)
- Iso (Command + 7)
Tool Overview
Click on a tool to find out what it does.
3D

Use this tool to create 3D text. Click on the tool, fill in the options in the box that pops up, and then click on your project where you want to place the text.
Axes

Use this tool to reposition the location of your axes.
Circle
 C
CYou use the circle tool to draw flat circles. You draw a circle by clicking and dragging outwards. You can specify the radius, by clicking, dragging and typing the the dimension of the radius, like 100mm, and then pressing the Enter key.
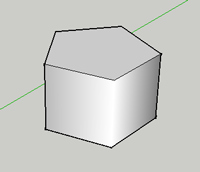
You can use the Circle Tool to draw a polygon. To make the circle a polygon, click and drag, then type the number of sides followed by s (5s) and hit the Enter key. The default number of sides of a circle is 24. When you extrude the shape drawn with the Circle tool, you will get a smooth cylinder:

When drawing another circle, you can reference the center of the first circle by hovering over the edges for a moment and then moving your cursor near the center. SketchUp will snap to the center point.
To get information on your circle or polygon, select the shape then CTRL+click and select Entity Info.
Component Maker

Dimensional>

The dimension tool can be used to measure the length and width of a shape.
Eraser
 E
EThe eraser tool will remove lines from your project. Click on edges to remove them from your shapes.
Note that removing lines will sometimes remove walls! If you remove a bounding line for a wall, the wall will disappear.
Holding SHIFT and erasing will hide an edge.
To soften edges, hold CTRL or Option and drag over the edge. Softening renders the adjoining surfaces with a smooth gradient.
Follow Me

This tool is useful for making spheres, donuts and other irregular tunnel-shapes. Draw a curve, and then draw the shape you want to follow your curve. With the follow me tool, click and drag your shape along the curve.
Freehand

Use this tool to draw irregular shapes for your project. Also handy when used with the follow me tool.
When using this tool, be careful not to cross over existing edges.
Draw to and from existing edges to properly divide surfaces.
Line
 L
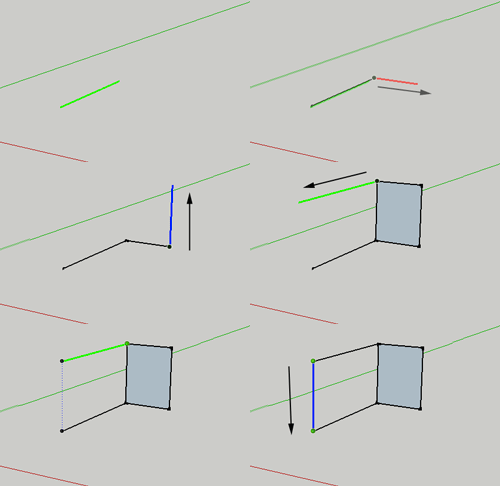
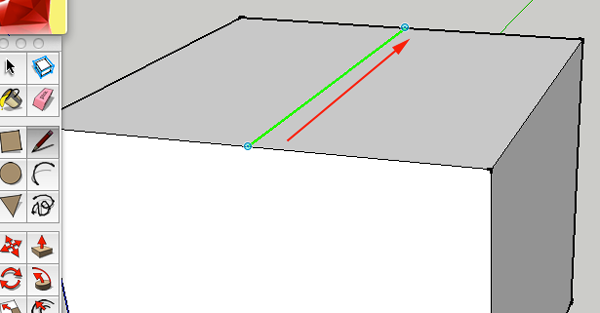
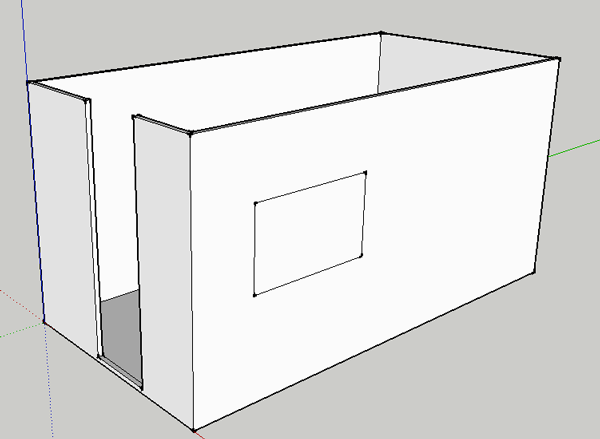
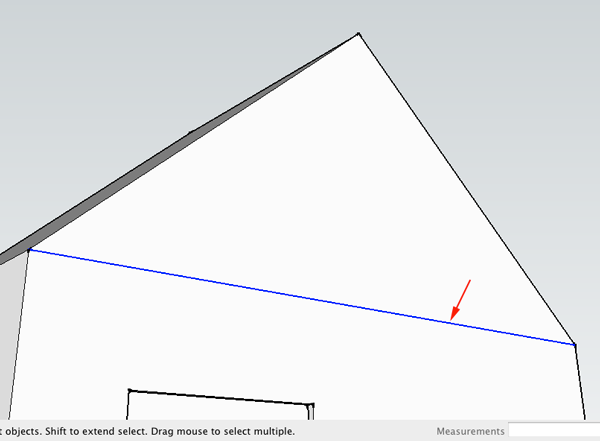
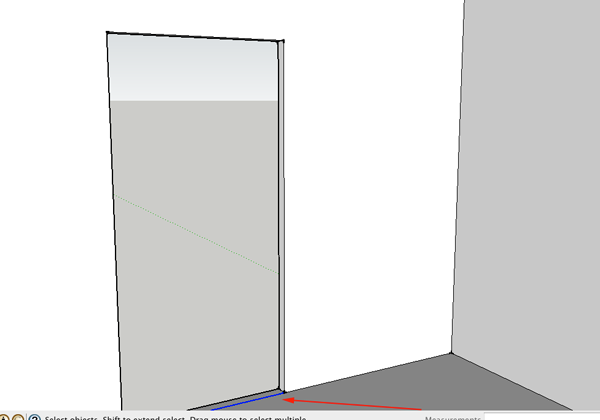
LUse this tool to draw a straight line anywhere in your project. Very helpful for dividing things like walls, or putting things into your project like doors.
To draw a line, select the tool, click and drag. The line you draw will be colored according to the axis you are drawing on.

To specify a length for your line, begin by clicking and dragging, but then type 100mm or 100m or 100" to get a line 100mm, 100 m or 100 inches long.
To divide the line. Select the line, then CTRL+ click to bring up the context menu. Here is where you can divide your line into segments.
Look Around

Use this tool to "look around" in your project. Clicking and dragging with this tool create the equivalent effect of standing in place and looking up, down, left, right, etc.
Move/Copy
 M
MUse this tool to move things around or to copy things.
The Move tool is the auto-fold and array tool as well
Offset
 F
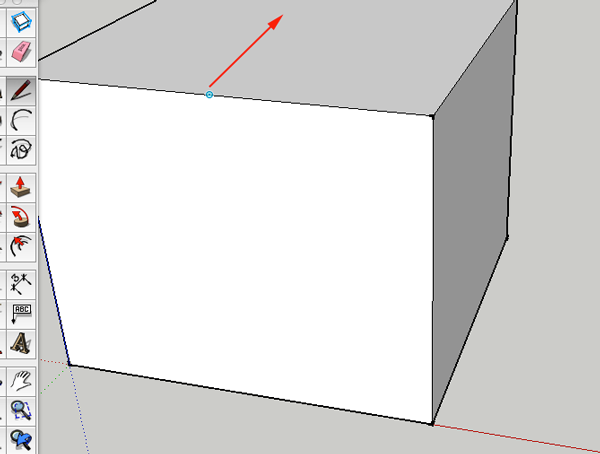
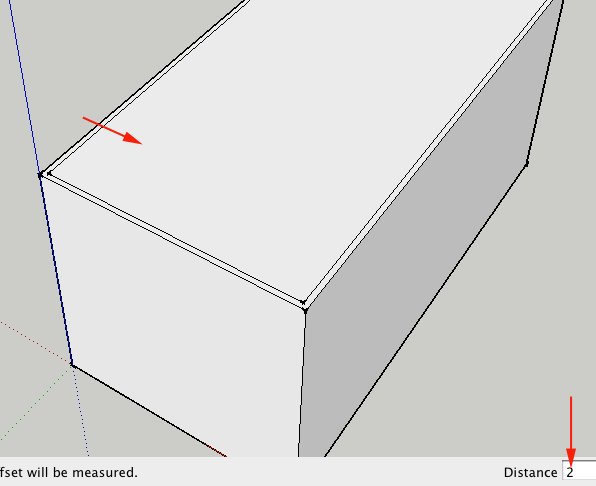
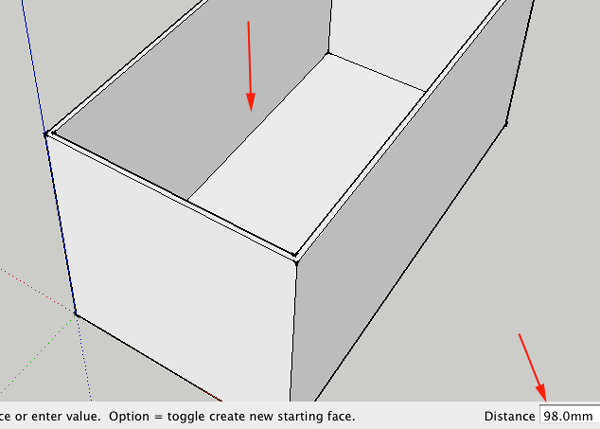
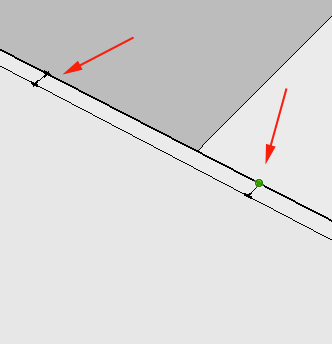
FUse this tool to make duplicates of flat surfaces you have already created, just in a different scale (this is very helpful when creating walls).
To use this tool, click and drag on the surface of your shapes to create a similar shape on the surface of your existing object.
Orbit
 O
OUse this tool to adjust the view of your project by rotating your position. Click and drag on your project to use this tool.
Paint Bucket
 B
BUse this tool to choose colors and to add color/texture to your walls and shapes. Click on this tool to bring up the colors palette. Choose a color, and then click on your objects to add the color or texture to your objects.
Pan
 H
HThis tool will change your view of your world by moving you to the up/down/left/right, according to the direction you drag. Unlike the orbit tool, the pan tool will not rotate your view. Click and drag across your project to use this tool.
Polygon

Use this tool to draw polygons other than squares and rectangles (such as octagons, triangles, etc).
Position Camera

Use this tool to reposition your camera. Click anywhere on your project, and the camera (your point of view) will move to that position.
Previous View

Use this tool to go back to your previous view. For example, if you accidentally change your view, click this tool to go back to the view you just had.
Protractor

This tool measures angles - use it to plan the creation of angles, or to measure angles you've already created.
Push/Pull

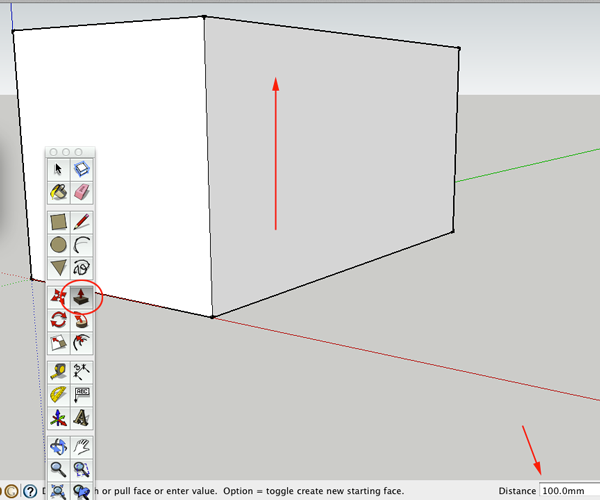
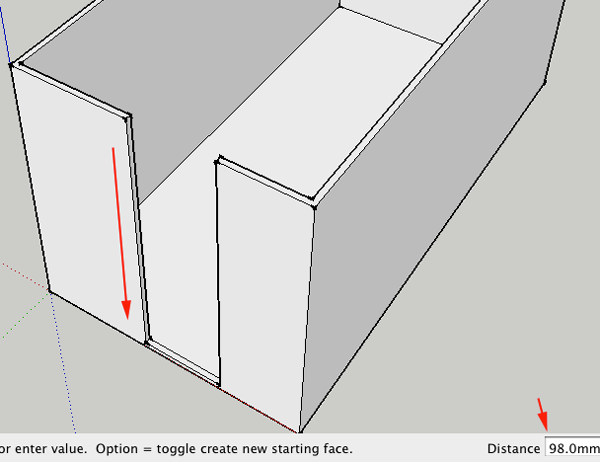
Use this tool to give your shapes volume (ie, once you have a shape like a rectangle, use this tool to pull up on it to make a cube).
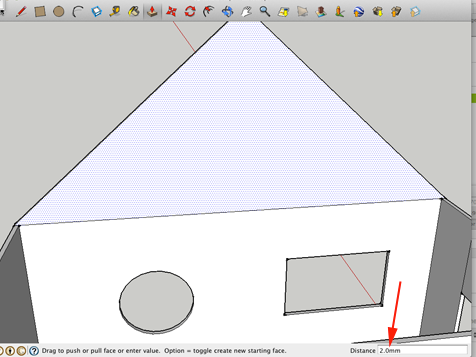
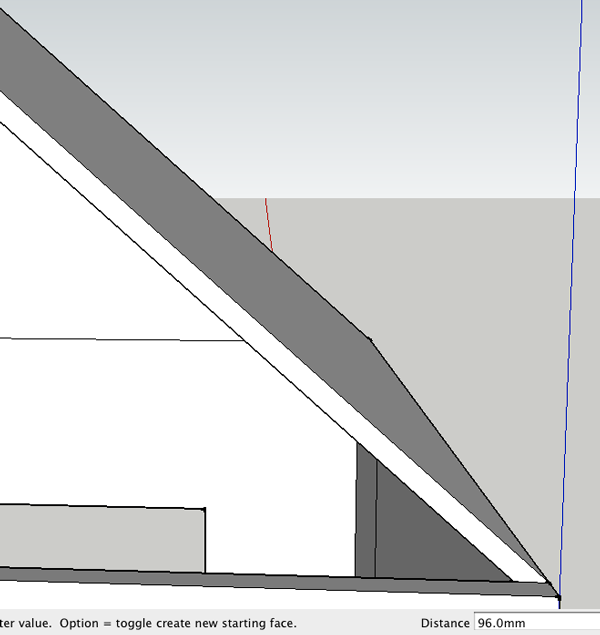
You can specify the distance you want to move my clicking, dragging and entering the number (100mm). Double-click on another surface to repeat the distance of the last Push/Pull.
To line up your extrusions, click once to start extruding a surface, then move the cursor to other geometry.This allows you to align to other geometry quickly.
You can Push/Pull a copy of the surface by pressing CTRL (WIN) or OPTION (MAC) and dragging.
Rectangle
 R
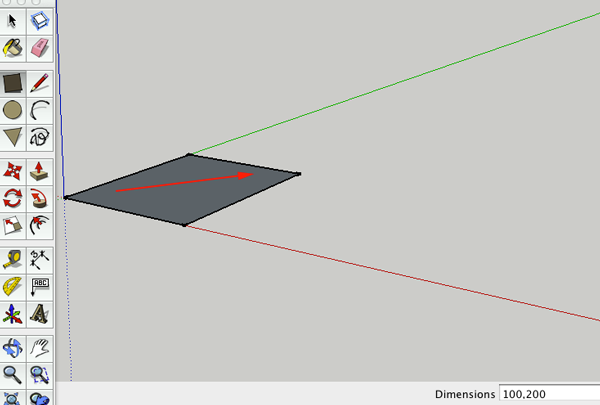
RUse this tool to draw a flat rectangle.Click once to start, drag.
To draw a rectangle with a specified width and length, start to draw the rect, then type in the dimensions separated by a comma (400mm,200mm).
Rotate
 Q
QThe rotate tool rotates objects, walls, and components. It works best on FLAT surfaces!
To use the rotate tool, click on a (preferably) flat surface to select the object you want to rotate. Move your mouse away from where you just clicked and click again. To start the rotation, move your mouse around. When your object is properly rotated, click to stop the rotation.
The Rotate icon will orient itself to the the surface you hover over. Select the object, choose Rotate tool, click once to anchor the center point of the rotation.
Release the mouse, move cursor away and click to establish a reference point.
Move the cursor again to rotate the object based on the reference points. Click to finish.
Scale
 S
SUse this tool to change the size of one of your objects. Click on the object you want to scale, and drag on the corners to change its size. Hold down your shift key to keep it in proportion.
Section

Tape measure
 T
TUse this tool to measure how long something is in sketchup. Click at your starting point, and click again at your ending point. The measurement will show up in the bottom right hand corner of the window.
Text

This tool creates little signs that are attached to your buildings and objects. Use it to display information about your project.
With the tool selected, click on an object and then type the text you want to be displayed.
For annotations, select the text tool, click on the geometry you want to annotate, then move the cursor away and click to place the text.You can edit the contents by double clicking inside the box. You can also modify the annotation by CTRL+clicking on the annotation.
3D Text
Walk

Using this tool can create the perspective of walking. Click and hold down on your mouse to start using this tool. Keep your mouse held down and move your cursor left and right - it should look like you are turning. Move your mouse up and down to move forwards and backwards.
Zoom Extents
 Shift+Z
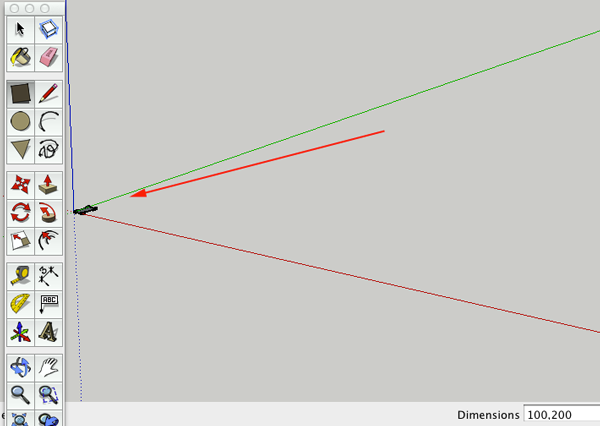
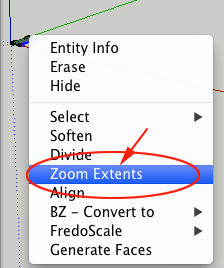
Use this tool to display your entire project. If you are ever zoomed in too far or need to reset your view, click on this tool to reposition your entire project.
Zoom Window

Another type of zooming tool.
Zoom
 Z
ZThis tool zooms your view in and out. Click it once to zoom in a little bit, or click and drag over an area you want to zoom in on.
Note that you can also zoom in (and out!) by using the scroll wheel on your mouse of you have one.
