Slicing
MakerBot Desktop
- Open MakerBot Desktop. If you have not installed this software, you can find it here.
If the Application is open, but you don't see anything, press File>New - From Desktop you can Explore Thingiverse, your Thingiverse files or upload from your computer.
- If Uploading from your computer click on the Prepare:

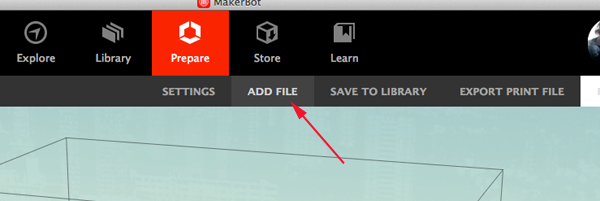
- Click on Add File button and navigate to or just drag your stl file on to the virtual platform.
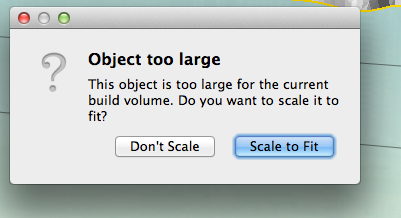
- If your stl file is too large you will see this pop-up. You do not have to scale the model at this point (even if it is too large). Scaling later will allow you to select a percent of the original, if that is important to your project
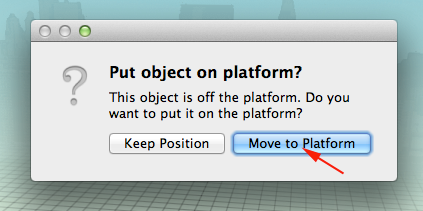
- If you see this window, click on the move to platform button
- To use any of the transformation tools, your STL file must be selected (i.e. highlighted in yellow)
- Press M to move the model on the platform:

- Press T to rotate the model on the platform:

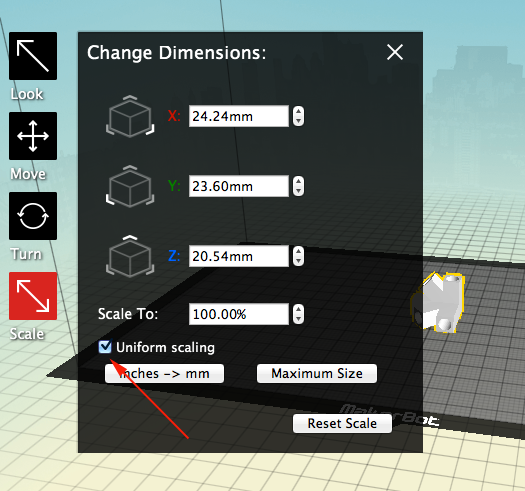
- Press S to scale the model on the platform:

- Click on Uniform scaling to toggle this option. When deselected you can scale along each axis:
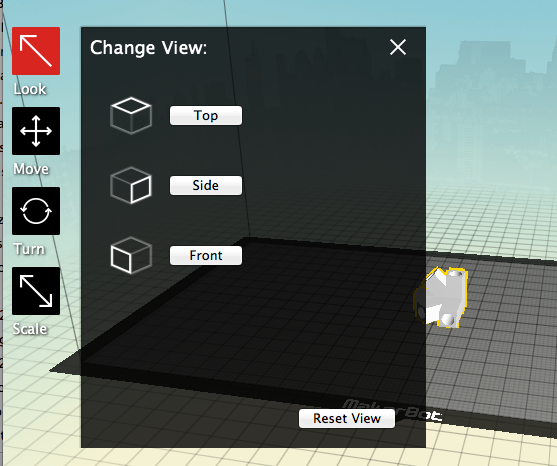
- Press L to change the view:
- Click on the Settings
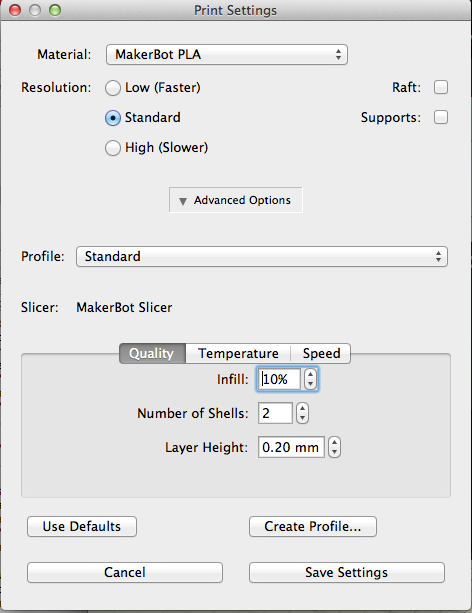
button to set up your slicing parameters:

- Generally the default settings are fine for most prints. Click on Save Settings:
- Click on the Export button to slice the stl file:

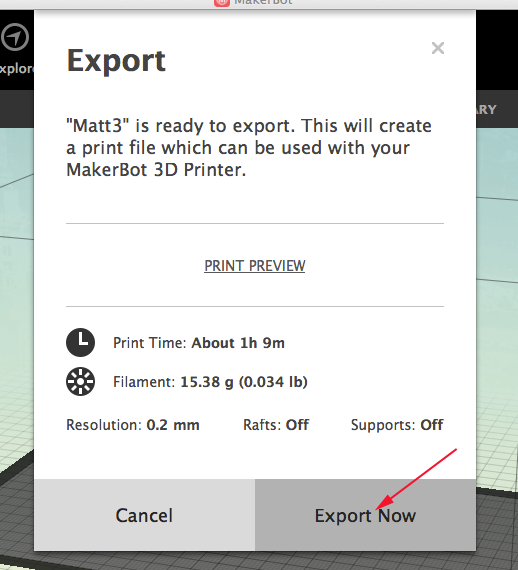
- When slicing is complete select Export Now:
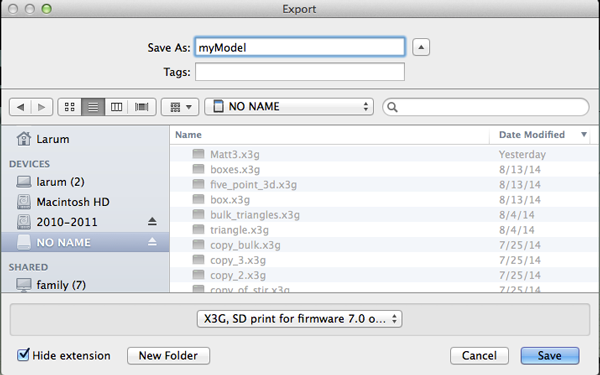
- To save the x3g file to an SD card select the SD card:
- If you are using a fifth generation Replicator, you will have the option to connect to the printer over wifi.
- To save all your transformations, save the thing file by clicking on the Save to Library.
